CMX Networking
This topic describes the networking options for accessing applications deployed on VMs and clusters created with Replicated Compatibility Matrix (CMX), including how to expose ports, use tunnels, and connect VMs and clusters on shared networks.
Overview
CMX provides flexible networking options to help you access and test your applications across different deployment scenarios. The networking approach varies depending on whether you're using VMs, VM-based clusters, or cloud clusters.
Internal vs. External Access
When working with CMX:
- Internal networking (pod-to-pod): Handled automatically within clusters using standard Kubernetes networking
- External access: Requires specific configuration depending on the distribution type
Networking Options for Clusters
After deploying your application into CMX clusters, you will want to execute your tests using your own test runner. In order to do this, you need to access your application. CMX offers several methods to access your application.
Some standard Kubernetes networking options are available, but vary based on the distribution. For VM-based distributions, there is no default network route into the cluster, making inbound connections challenging to create.
Port Forwarding
Port forwarding is a low-cost and portable mechanism to access your application. Port forwarding works on all clusters supported by CMX because the connection is initiated from the client, over the Kubernetes API server port.
If you have a single service or pod and are not worried about complex routing, this is a good mechanism. The basic steps are to connect the port-forward, execute your tests against localhost, and then shut down the port-forward.
LoadBalancer
If your application is only running on cloud services (EKS, GKE, AKS), you can create a service of type LoadBalancer. This will provision the cloud-provider specific load balancer.
The LoadBalancer service will be filled by the in-tree Kubernetes functionality that's integrated with the underlying cloud provider. You can then query the service definition using kubectl and connect to and execute your tests over the LoadBalancer IP address.
AKS clusters require the following additional annotations to be set on LoadBalancer services for traffic to be routed:
controller.service.externalTrafficPolicymust be set toLocalservice.beta.kubernetes.io/azure-load-balancer-health-probe-request-pathmust be set to a health check endpoint that returns a successful HTTP response when your service is ready
For more information about these annotations, see the Use a public standard load balancer in Azure Kubernetes Service (AKS) in the Azure documentation.
Ingress
Ingress is a good way to recreate customer-representative environments, but the problem still remains on how to get inbound access to the IP address that the ingress controller allocates.
Ingress is also not perfectly portable; each ingress controller might require different annotations in the ingress resource to work properly. Supported ingress controllers vary based on the distribution.
CMX supports ingress controllers that are running as a NodePort service.
CMX Tunnels for VM-Based Clusters
All VM-based CMX clusters support tunneling traffic into a NodePort service. When this option is used, Replicated is responsible for creating the DNS record and TLS certs.
Replicated will route traffic from :443 and/or :80 into the NodePort service you defined. For more information about using tunnels, see Expose Ports on VM-Based Clusters below.
Expose Ports on VMs
You can expose ports on a VM and make them accessible on the public internet.
For limitations related to port exposure, see Limitations in CMX Overview.
CLI
replicated vm port expose VMID_OR_VMNAME --port PORT --protocol PROTOCOL
For example, to expose port 3000 with HTTP protocol:
replicated vm port expose VM_ID --port 30000 --protocol http
Vendor Portal
To update the ingress and ports settings for a VM:
-
In the Vendor Portal, go to Compatibility Matrix.
-
Create a VM.
-
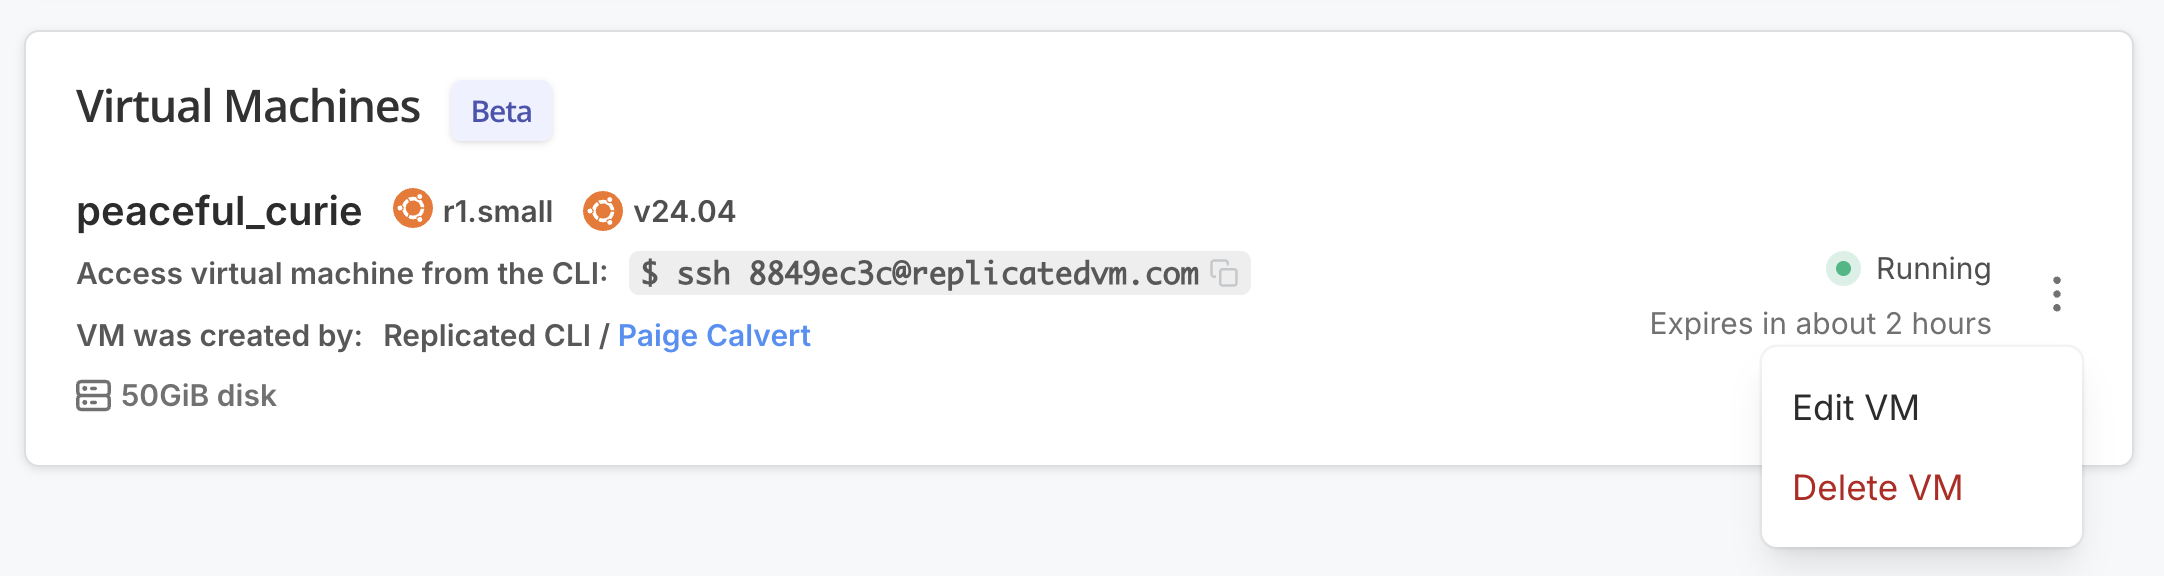
Open the dot menu for the VM and click Edit VM.
-
Under Ingress & Ports, for Add DNS record, edit the fields as desired and click Add to create a DNS record.
 View a larger version of this image
A DNS record and valid TLS cert are created and connected to the specified port.
Expose Ports on VM-Based Clusters
After you have a node port available on the cluster, you can expose the node port to the public internet using the Replicated CLI. There is no limit to the number of tunnels you can create for a cluster and multiple tunnels can connect to a single service.
You can expose a node port that does not yet exist in the cluster. This is useful if you have a deterministic node port, but need the DNS name as a value in your Helm chart.
The following diagram shows how the traffic is routed into the service using CMX tunnels:

View a larger version of this image
Limitations
For limitations related to tunnels, see Limitations in CMX Overview.
Supported Protocols
A tunnel can support one or more protocols. The supported protocols are HTTP, HTTPS, WS and WSS. GRPC and other protocols are not routed into the cluster.
Expose Ports with the CLI
To expose a port on a cluster using the Replicated CLI:
replicated cluster port expose \
    [cluster id] \
    --port [node port] \
    --protocol [protocol]
See cluster port.
Use Wildcard DNS
Optionally, you can specify the --wildcard flag to expose this port with wildcard DNS and TLS certificate. This feature adds extra time to provision the port, so it should only be used if necessary.
For example, if you have the nginx ingress controller installed and the node port is 32456:
% replicated cluster ls
ID          NAME                           DISTRIBUTION    VERSION       STATUS
1e616c55    tender_ishizaka                k3s             1.29.2        running

% replicated cluster port expose \
    1e616c55 \
    --port 32456 \
    --protocol http \
    --protocol https \
    --wildcard
View Exposed Ports
To view all exposed ports, use the replicated port ls subcommand with the cluster or VM ID:
replicated cluster port ls CLUSTER_ID
replicated vm port ls VMID_OR_VMNAME
Remove Ports
Exposed ports are automatically deleted when the cluster or VM terminates.
If you want to remove a port (and the associated DNS records and TLS certs) prior to termination, run the port rm subcommand with the cluster or VM ID:
replicated cluster port rm PORT_ID --id CLUSTER_ID
replicated vm port rm VMID_OR_VMNAME
You can remove just one protocol, or all. Removing all protocols also removes the DNS record and TLS cert.
Use Shared Networks
This section explains how to create VMs and clusters with CMX on the same network.
Connect a VM with a Cluster on the Same Network
You can make a CMX cluster available on the same network as a CMX VM.
Supported Cluster Distributions
Openshift, K3s, RKE2, EC, kURL, kind
Requirement
Replicated CLI 0.90.0 or later
To connect a VM with a cluster on the same network:
-
Create a cluster:
replicated cluster create --distribution K8S_DISTRIBUTIONFor example,
replicated cluster create --distribution k3s. -
In the output of the
cluster createcommand, underNETWORK, copy the network ID.Example:
ID         NAME              DISTRIBUTION    VERSION    STATUS    NETWORK     CREATED                EXPIRES  COST
6b14376c   ecstatic_raman    k3s             1.33.2     queued    accbd6a7    2025-08-04 13:20 PDT   -        $0.60
In the example above, the network ID is
accbd6a7. -
Create a VM on the same network:
replicated vm create --distribution DISTRIBUTION --network NETWORK_IDWhere
NETWORK_IDis the network ID that you copied in the previous step.For example,
replicated vm create --distribution ubuntu --network accbd6a7.Example output:
ID         NAME                 DISTRIBUTION   VERSION   STATUS     NETWORK    CREATED                EXPIRES  COST
760a30b1   suspicious_poitras   ubuntu         24.04     assigned   accbd6a7   2025-08-04 13:24 PDT   -        $0.60
Create VMs on the Same Network
Use the --count flag to create multiple VMs with the same name, all running on the same Network ID.
replicated vm create --distribution ubuntu --count 3
Join VMs to an Existing Network
To join one or more new VMs to the network of an existing VM:
-
Run one of the following commands to get the ID of an existing VM network:
-
List VMs:
replicated vm ls -
List networks:
replicated network ls
-
-
In the output of the command, copy the network ID.
-
Use the
--networkflag to create a new VM on the same network:replicated vm create --distribution ubuntu --network NETWORK_IDWhere
NETWORK_IDis the network ID that you copied in the previous step.